# Setting up a project
# Getting our server up and running
The first thing we are going to want to do is setup a project locally and add some version control to it. For this project we are going to be using Laravel as our framework of choice. The first step here is to install everything necessary to create a new Laravel project. Its always recommended to familiarize yourself with a frameworks documentation. For Laravel there are a few prerequisites which are to have PHP and Composer installed. Once those are installed we are going to go ahead and run the following:
composer global require laravel/installer

laravel new tinyuri

cd tinyuri

php artisan serve
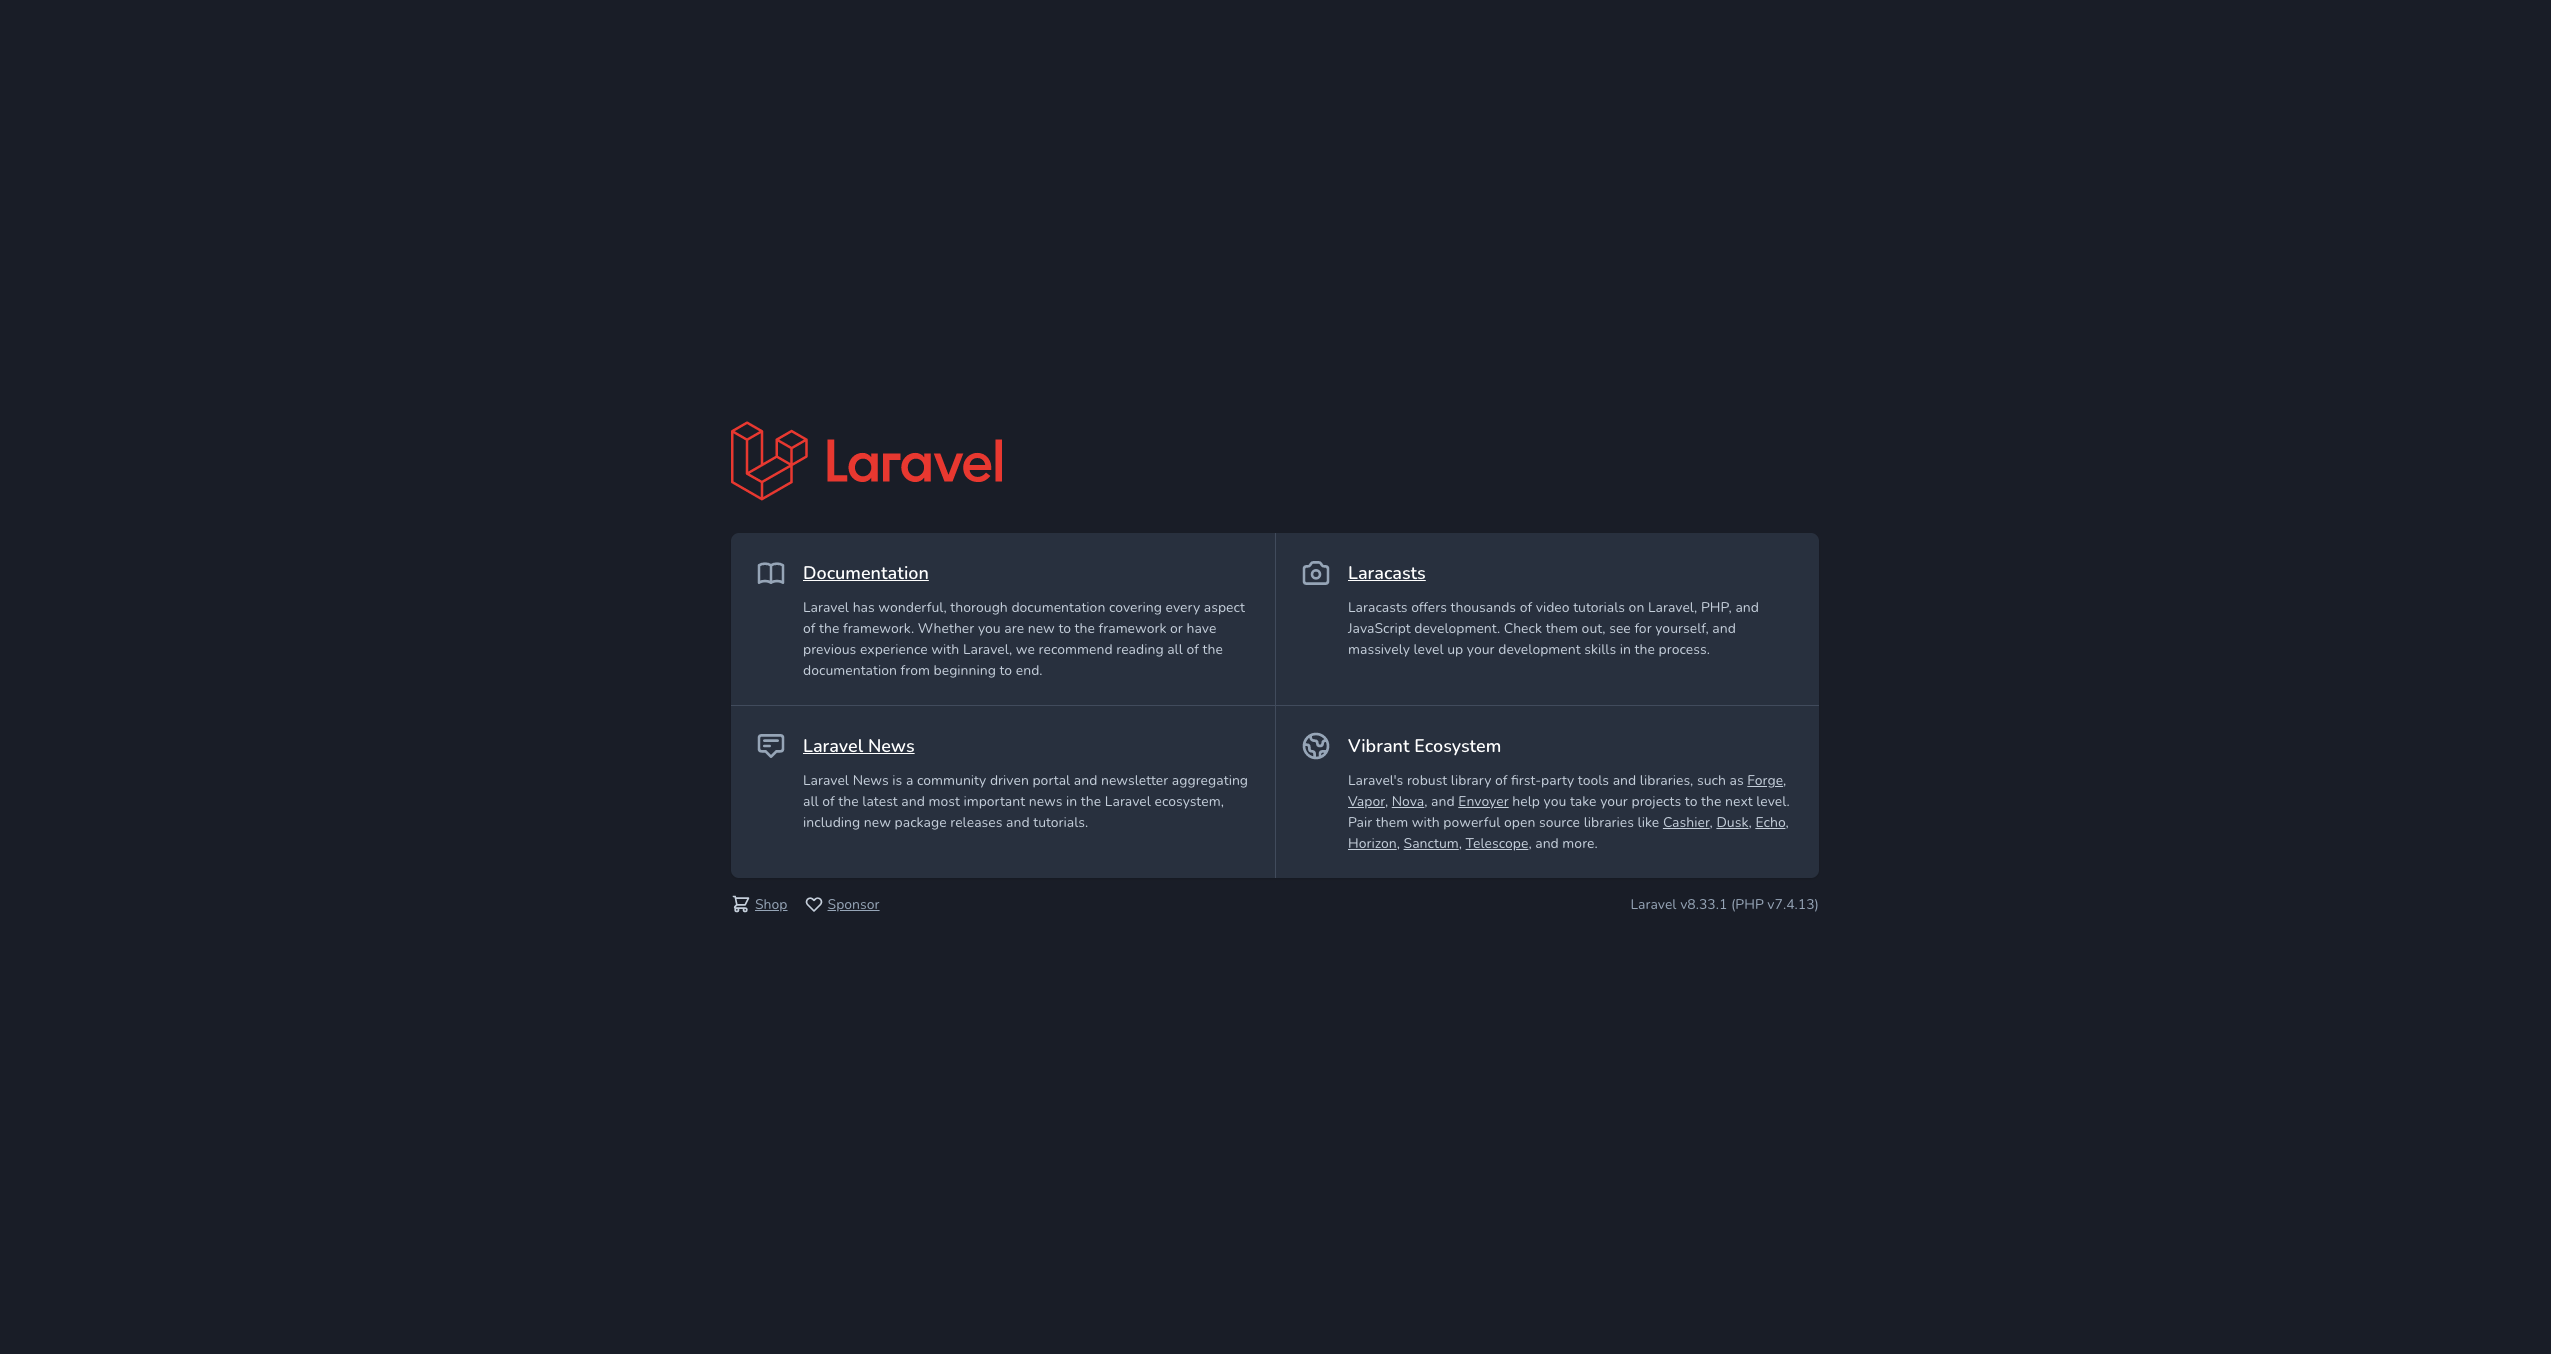
Once we do that we should see terminal output like the following:
Starting Laravel development server: http://127.0.0.1:8000
and if we navigate there we should see our server up and running!
# Adding version control
The next step is to add some version control to our project so we can keep track of changes and implement features on separate branches. For this we will be using Github but there are plenty of other options. We are going to create a GitHub repository with the same name as our project, tinyuri:
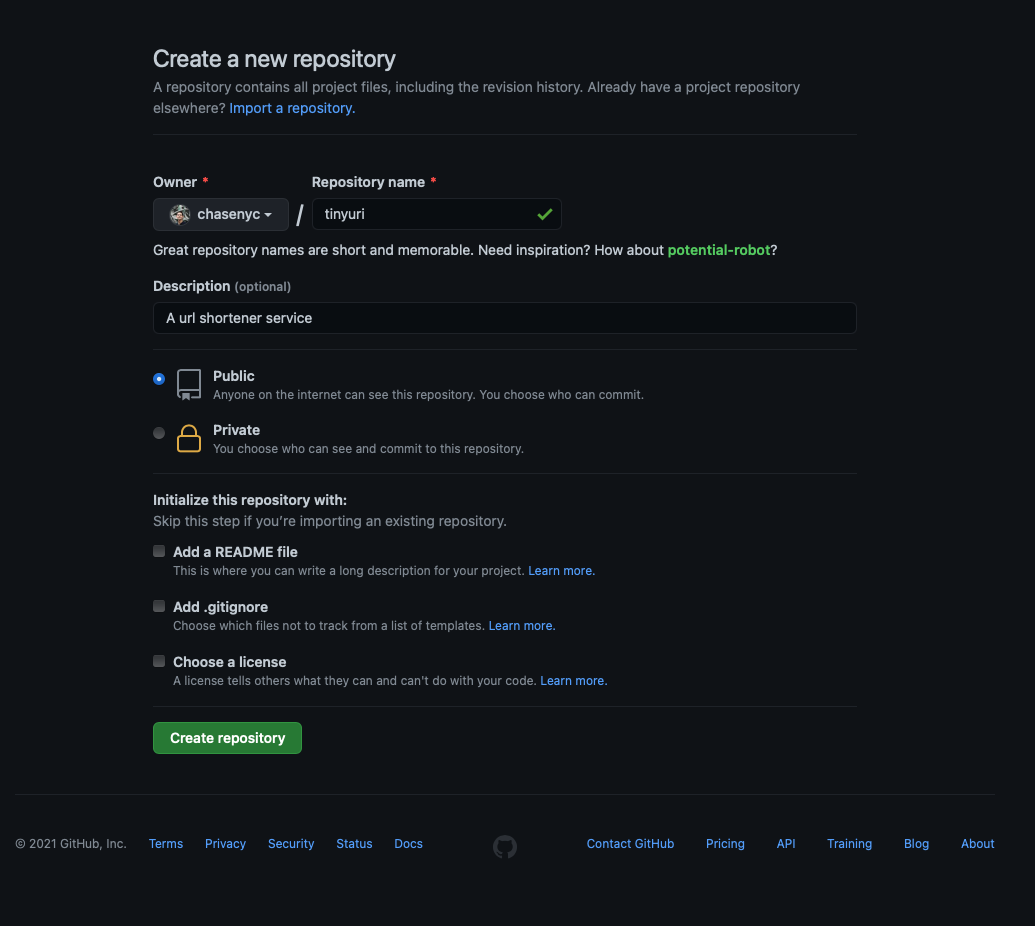
Once we create the repository we are going to see some instructions on how to add git to our project:
git init
git add .
git commit -m "first commit"
git branch -M main
git remote add origin {{your url here}}
git push -u origin main
A new Laravel project comes with a README.md so we are removing that step from what we need to do. After we have finished these steps we should now be able to refresh our GitHub repository and see the Laravel Skeleton application code.
Planning →